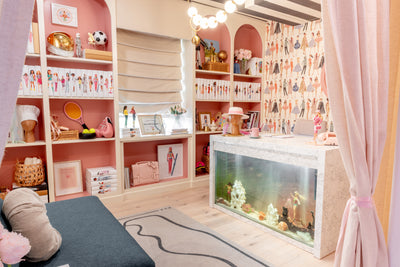
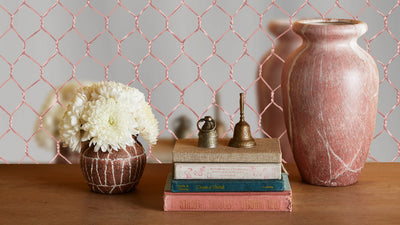
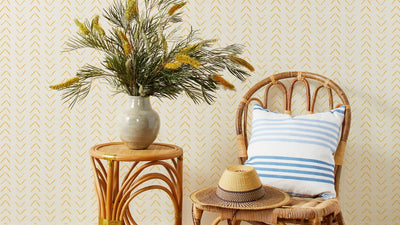
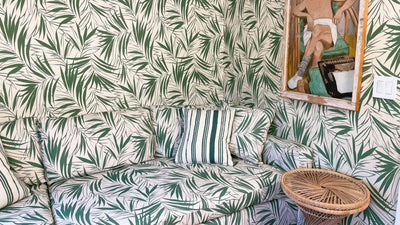
Wallpaper is a great alternative to paint, with an endless variety of designs - abstract prints, florals, geometrics, animal designs, and more. You are only limited by your imagination. Maybe you want to spice up your apartment or home with a bold design in your foyer or even put a removable mural in your living room, but the intimidation of hanging the wallpaper has you hesitant to take the next step.
We’re here to show you how to let go of that fear. Learning how to install wallpaper can be as easy as peel and stick with our removable patterns, or for a more permanent installation, you can expand your options with paste-the-wall traditional wallpaper.
Whichever path you choose, this article will give you a list of the tools you’ll need and helpful tips to follow as you complete each project.
Tools Needed to Remove Existing, Traditional Wallpaper
Most often, you will be installing wallpaper over painted drywall but in case you are in a situation where there is old wallpaper that must be removed before you can put up the new, let’s cover the basics of taking the old paper down first. Some of you may be thinking this is the reason you didn’t want to get involved with wallpaper to begin with but using the right tools and a little elbow grease, the old paper will come off in a jiffy.
Wallpaper Remover Kit
Start off by purchasing a wallpaper removal kit from ROMAN products. It contains the basic tools and solutions needed to make quick and easy work of removing old wall coverings. The kit contains:
- Enough remover to strip 1500 square feet of wallpaper.
- A scoring tool to perforate the paper so the remover can get at the old adhesive.
- A wallpaper scraper to peel the old paper off the wall.
Understand that the remover solution is going to do the hard work. Your job is to roll the scoring tool in a circular motion over the entire surface of the old wallpaper pressing firmly but not too hard. There are small teeth in the scoring tool that are preset to the right depth to pierce the wallpaper, but not the drywall face beneath it. Once you have scored the whole surface of the old paper, starting at a seam, apply the solution to a small area, making sure you get it damp, then allow 15 minutes for it to break down the old adhesive.
After that, use your wallpaper scraper to remove the paper from the wall. If the wall was primed before the old paper was installed it will peel off with ease. Just continue this process until you have removed all of the old paper. If any small pieces of paper refuse to come off just apply some remover and scrape it off. Once you have all of the old paper off, let the wall completely dry and you are ready to hang your new panels.
Tools Needed to Install Traditional Wallpaper
Wallpaper Tools Needed
Whether you want a temporary splash of color and are using a removable design, or you want a more permanent solution using a paste-the-wall wallpaper, there are some basic tools you want to have on hand. Let’s go over the list:
- Step stool.
- Tape measure.
- Carpenters level.
- Screwdriver.
- Scissors.
- Utility knife.
- Pencil.
- Damp sponge.
- Smoothing tool.
This is all you will need to hang our removable wallpaper. We recommend the use of professional installers if you are using traditional rolls, but if you have some experience or just want to enjoy the learning experience of hanging traditional wallpaper, there are a few items that you will need to add to your list. Those are:
- Wallpaper adhesive.
- Paint tray and roller.
- Seam roller.
Tools Needed to Hang Removable Wallpaper (Peel And Stick)
This is the perfect wallpaper for the weekend DIY person or couple. No messy adhesives to deal with and when you are ready to take the wallpaper down, it comes off just like it went on - easy! Follow these simple steps and you will be enjoying your favorite beverage and looking at a completed wallpaper job in short order.
(If you have non-stick paint on your walls or paint containing Teflon, peel and stick wallpaper will not adhere to your walls.)
- Make sure the walls are clean and dry - free of dust and debris.
- Remove wall fixtures, switch plates, and outlet covers.
- Measure the height of the wall.
- Starting in a corner and using the level, draw a vertical line where your first piece will end.
- Cut your first piece leaving a couple of inches at the top and bottom to allow for some adjustment.
- Remove some of the backing and attach the panels to the wall. Having a friend around at this point can be very helpful. While one is attaching the paper to the wall, the other can remove the backing. It can be done by yourself, but having a friend around gives you someone to talk to and enjoy that drink with when the job is done.
- Using the utility knife, trim the extra from the top and bottom.
- Just continue with the process until you finish!
Whether you’re doing a quick bathroom wallpaper install, or are tackling an entire design refresh, Wallshoppe’s vast array of wallpaper designs can help you get there in a sustainable and fun way. For further instruction on hanging wallpaper, see how to install removable wallpaper & how to install traditional wallpaper.
Seth Davis is a contributor for Roman Products. He is a blogger and content writer for the residential and commercial wall coverings industry. Seth is focused on helping fellow homeowners, contractors, and manufacturers discover products, materials, and methods of installation that increase property value, improve durability, and discover innovative wall covering options for their home or commercial space.